DJ Sprinkles’ Top 5 Studio Tips
DJ Sprinkles, AKA Terre Thaemlitz, is an electronic music producer with a message. The transgendered DJ has long challenged audiences through both theoretically rigorous experimental music and joyous house. Sprinkles has a new mix CD out on Mule this month called Where Dancefloors Stand Still that indulges the latter side of his musical personality. To celebrate, we asked Sprinkles to make us a list. Any list. Here is what the former RBMA lecturer came up with.

The folks at the Red Bull Music Academy asked me to come up with a list. Rather than coming up with the usual list of “likes,” I thought it might be helpful to some people if I talked about a few things I wish I had learned sooner when working in the studio. Many of these may seem a bit obvious, but that’s part of the wonderful shame of it all. No matter how deep we get into our gear, there are always brain-dead functions and features we just never bothered to tune into.
Record clamps
Record clamps are weights that fit over the spindle of a turntable to hold the record more firmly to the platter. There are certain people who place too much importance on record clamps, to the point where their claims of sound improvement are not so different from bullshit talk of crystal power. Or maybe it’s more like people who claim to hear a difference in sound quality between music burned to an ordinary CD-R and a CD-R for audio mastering. (Once and for all, the difference is in burn-depth, which affects a disc’s readability but not sound quality! Sound quality relates to your CD player’s digital-to-analog converters! Other than a misreading resulting in an actual digital glitch, there is no difference in sound quality to be heard if both discs are playing through, damn it! The disc is just zeroes and ones! Zeroes and ones! As you can tell, I’ve lost friends over this issue...)
I am not one of those fanatical record clamp enthusiasts. In fact, I never use them outside the home, and with flat records in decent condition I do not hear any notable change in sound quality. The main benefit of a record clamp is when playing warped, bowled or thinly pressed records. In these cases, clamps really do help smooth out vinyl, and significantly reduce unwanted needle motion or bouncing. (But they do not eliminate warping or bowling completely – only minimize its effect.) This is especially important when trying to digitally archive your vinyl, and you want to capture the best recording possible. I’m not saying I couldn’t live without one, but when I need one I’m damn glad it’s there, and I wish I had one sooner.
I prefer simply designed metal clamps in the 400g to 700g range. (I avoid bubble level meters or other things that could throw it out of balance when spinning.) Felt or rubber on the bottom is not necessary. Some people worry that without felt their record labels will get scratched up, but that does not happen because there is no motion between the record and clamp – it is a dead-weight sitting firmly on top of the record. Lastly, don't spend a lot of money on a clamp. There are some low-cost ones from Hong Kong being sold on eBay and elsewhere that totally do the trick.
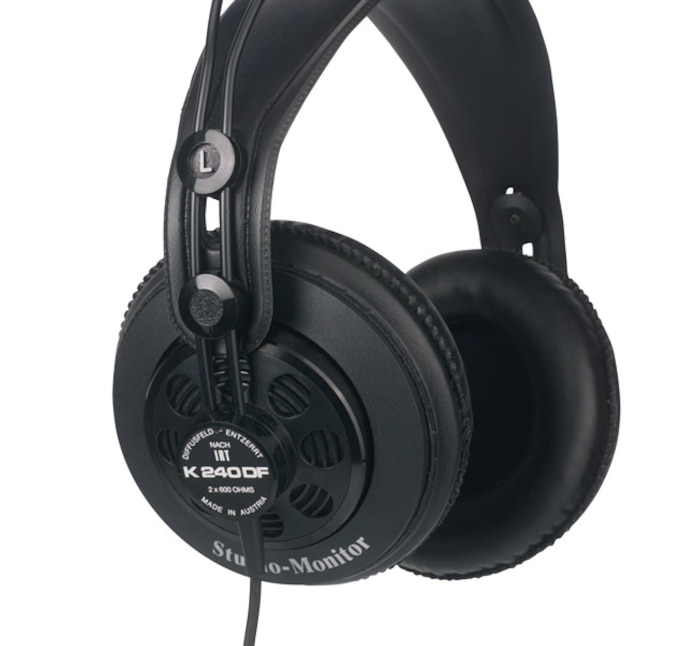
“Flat” studio master headphones
I got my first good pair of headphones pretty early on, but I still wished I had them sooner. The delay, of course, was price. Why would someone buy headphones costing $300 or more – especially ones that sound flat and don't have a lot of thumping bass like your $30 earbuds? I just couldn't wrap my head around it.
I eventually broke down and got a pair of AKG K 240 DF’s (don’t look for them – they were discontinued long ago), and began to understand. Although people unfamiliar with the sound of studio monitor headphones might be disappointed by what they initially hear as a lack of dynamic response (especially with bass tones), the truth is that most low-cost headphones artificially boost the bass, which is a distortion of the actual recordings you are listening to.
Earbuds and other low-to-mid-range earphones are great for listening to music on the road, but horrible in the studio when trying to actually hear sounds and make decisions about levels, EQ, etc. And when you work for long hours, that lack of artificially boosted bass definitely saves your ears from exhaustion, which in turn keeps your studio time more productive.
These days, it seems people are increasingly doing their final mastering on headphones. I would never recommend this – at least not mastering on a single pair. Ultimately, mastering should involve test monitoring on a variety of headphones and speakers to give you a real sense of how a track works. Good, flat-sounding studio monitor headphones are more important for the act of production itself, keeping your ears fresh for hours on end.
Of course, physical fit is as important as sound. Take the time to go to a big store and try as many headphones as possible to see what you like. Remember, a lot of stores have display headphones connected to different amps with different volume levels and EQ settings, so it can be difficult to make sound comparisons even if the same music is playing. The levels can even be deliberately adjusted on the amp side to make some headphones sound better than others as part of a sales push. I recommend bringing your own MP3 player and testing the headphones through that, so you have a real basis for comparison of power and sound output from different headphones. And beware – a lot of major brand headphones have the words “studio monitor” printed on them, but they still push the bass and are not actual monitor headphones.
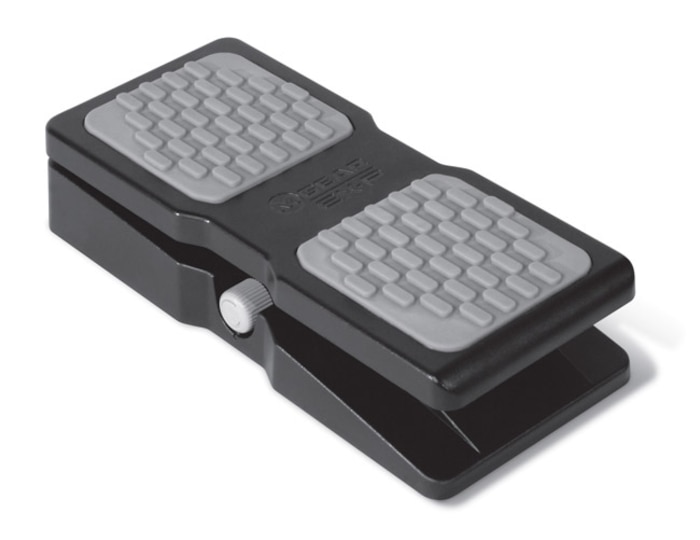
Keyboard expression pedals
For the beginners out there, keyboard expression pedals look like volume pedals, but they are completely different. They control synth program parameters, similar to a pitch bender or modulation wheel. Believe it or not, I just got my first keyboard expression pedal last year. Again, it came down to the tight strings on my coin purse, since I just never thought they’d make that much of a difference. Besides, if I wanted to, I could always just manually draw in expression values within my sequencer software.
What I didn't understand was how the real value of expression data comes from how it interacts in real time with other variables like pitch, modulation and velocity. And this can really only be heard and understood through real-time experimentation. Holy shit, these pedals really bring synths alive in a very immediate way. I uncovered a previously unknown layer of sounds in my gear. Not having an expression pedal sooner was a mistake. Simple as that. (You're all saying, "Duh!")
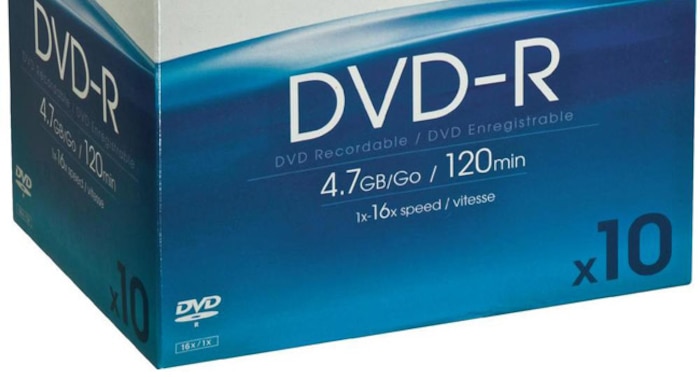
Higher compatibility data back-ups
I’ve always been anal retentive about making back-ups of data and sounds. The problem, of course, is that formats change. (Remember floppies and ZIP drives?) Software becomes unsupported. (My earliest tracks were sequenced in Dr. T’s Beyond – brilliant software ahead of its time, by the way. And try to access Retrospect DAT back-ups now, suckers.) Files can no longer be accessed. (The 2011 earthquake in Japan killed my carefully preserved PowerPC 7100.) Shit happens.
Back in the ’90s, limited disk space had a big impact on the scope of digital back-ups that were possible. If you got things onto DAT you felt pretty good (about as good as it feels now to get those DAT tapes off tape and onto hard disc!). But today, there is no excuse for not making thorough back-ups of all aspects of your projects. By thorough, I mean not only a general back-up of a software file and related audio files, but actually taking the 20 or 30 minutes extra to do AIFF or WAV bounces of all individual instruments from bar 1 beat 1 to the end of a track. This essentially gives you a modern day version of the multi-track tape of yore.
Ten years from now you probably will not be able to open the sequence files you’re carefully archiving (if you are relying on effects and sounds from VST’s, they may not even be readable next year), but the audio files for the individual instruments will surely have a greater chance of being readable. Sure, AIFF/WAV files are not as editable as your original sequence files, but when you’re asked to remaster or remix a track from your past, you'll be damn glad you have them. My current strategy is to keep duplicate backups on two separate drives (hard drives crash), as well as write the data to a hard media like DVD-R (again, hard drives crash).
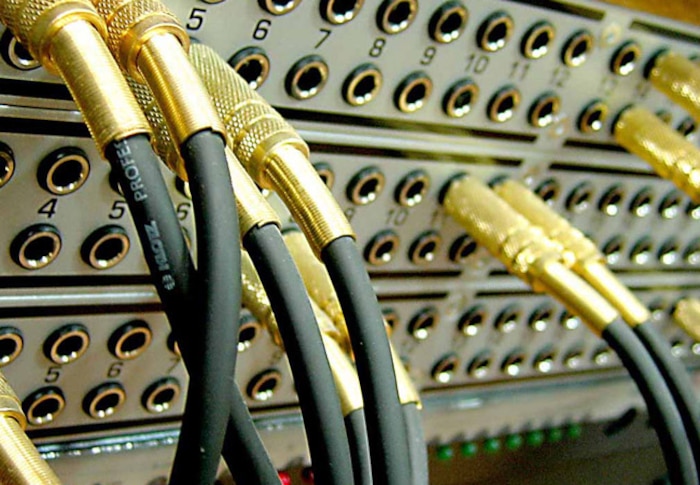
Patchbays
If you don't use outboard gear and live in Ableton VST land, you can ignore the rest of this and just go re-read the previous entry to make sure it sinks in...
Like the expression pedal, I got my first patchbays (or patch panels) last year. And, again, I immediately regretted not having these basic devices sooner. My error was that I considered patchbays a luxury item, when in fact they are as essential as the rack frame itself. A patchbay is a connector device that is usually rack mounted, and sits between your gear and mixer. It allows you to organize all of your wiring behind the rack, while also providing front ports for each device and mixer channel so you can re-route or plug in new devices from the front.
If you have a gear rack, and your gear outputs outnumber your mixer channels, this is for you. If you are thinking of getting a bigger (or second) mixer, definitely look into a patchbay first. This is especially true if you don't tend to use all the gear connected to your mixer all at once (which most of us do not). For years – actually, decades now – I thought it was easy enough to just go behind my gear rack and rewire things as needed. Whenever I wanted to plug in a new or seldom-used piece of gear (like an antique drum machine sitting in the closet that begs to be used more often), I would unplug something else in order to make room for the new device. Then when I was done, I would reconnect the old wires back to the way they were.
For sure, manually rewiring works. But over time, I found all these little efforts to rewire and connect things had a passive-aggressive impact on my willingness to work with instruments not in my default set-up. In other words, I got lazy. Well, that's not exactly true – there is also the trauma of moving wires around, only to realize accidentally brushing some other cable made it go bad or get crunchy... wires get bitchy with age.
Wires get bitchy with age.
Now all my rack gear is wired through the back of the patchbays - even the gear for which there is no room on my mixers. When I want to use one not assigned to a mixer channel, I can use a short patch cable on the front to route it into any available mixer channel, even if that mixer channel usually has a different synth plugged into it. Beyond that, I can immediately plug any instrument into the bay’s front panel and get sound out of my mixer, without having to crawl around back and unplug other wires. Yes, you will need to get a lot of cables to set up your patchbay (usually sold in bulk kits specifically for this purpose), and these may even exceed the cost of the bay itself, but it’s generally less than the cost of another decent mixer.
There are generally three types of patchbay connectors: PO316 (or B-gauge), 1/4-inch headphone (or A-gauge TRS), and Bantam (like a miniature PO316). Higher quality bays use PO316 or Bantam, but there are actually some quite clean sounding and affordable 1/4-inch patchbays on the market right now. I like the Samson S-patch because it lets you toggle between the various wire routing possibilities with a little switch on the front panel, whereas most bays put the switches on top (making them inaccessible once placed in a rack), or else the connections are hard-wired for a single routing option. I never knew how much my old strategy of manually rewiring things was sabotaging my willingness to hook up new devices to my already-full rack system. “Thanks, patchbay!”
Image credit: Record Clamp - Alexander Smit
